2005/1102
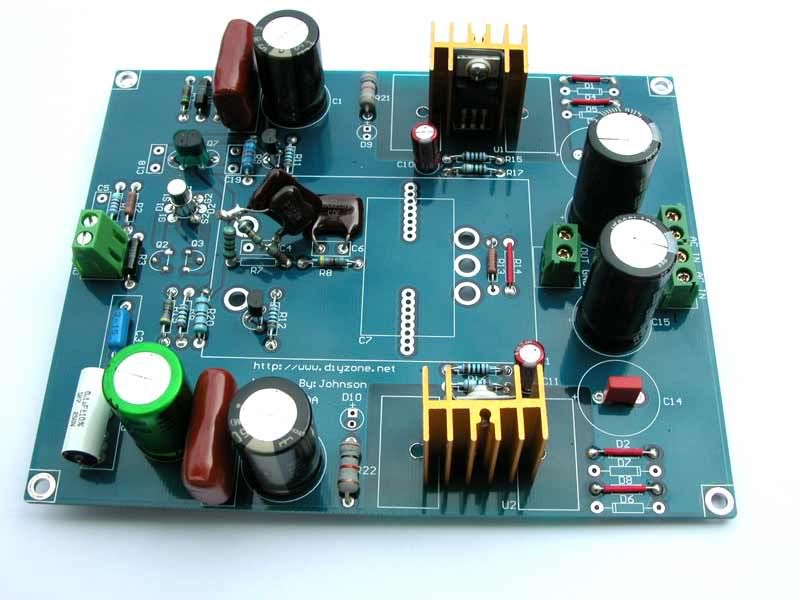
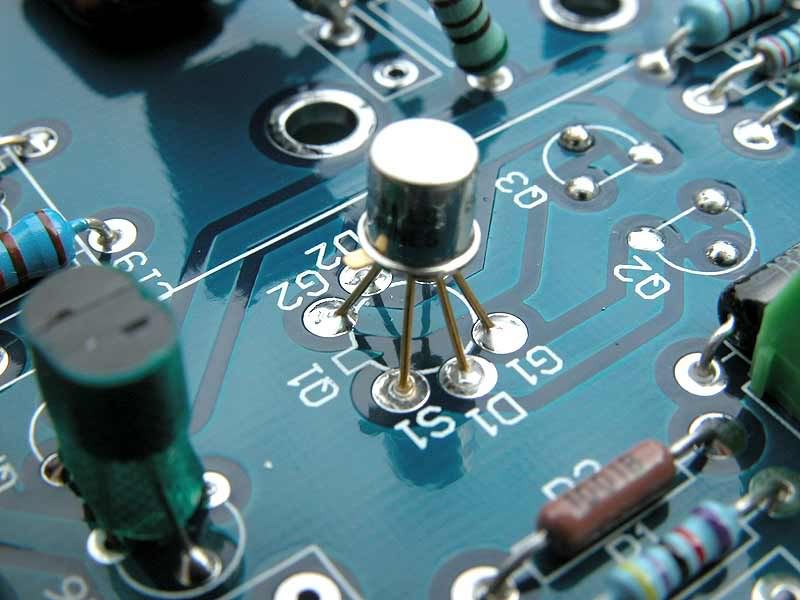
拿到Leach RIAA PCB,自己trace,結果發現輸入級居然有兩對晶體.......完蛋了,神奇的架構,所以就把他給放在一旁。因為好幾個月都沒動他,這陣子想把他找 出來看看,卻翻箱倒櫃找不到........有一天在不屬於他的箱子裡翻出來.....以後東西不要亂放。...........
DZ在今年有很多令大家驚喜的活動,其中之一就是LPEU(黑膠唱片團結聯盟)。相信所有加入這個活動的朋友,都收到了神祕的黑膠唱片贈品,真的,每片的片況都還不錯,而且大部分都是很特別的音樂,算是開了另一種眼界。
跟著唱片寄來的另一個小禮物,就是由Marshall Leach教授設計的Leach RIAA唱頭放大線路。相關的文章,可以在下面的連結下載pdf檔案。
http://users.ece.gatech.edu/~mleach/papers/wbpreamp/feb77article.pdf
拿 到PCB,因為當時還沒找到這一篇文章,所以索性自己trace,結果發現輸入級居然有兩對晶體.......完蛋了,神奇的架構,所以就把他給放在一 旁。因為好幾個月都沒動他,這陣子想把他找出來看看,卻翻箱倒櫃找不到........有一天在不屬於他的箱子裡翻出來.....以後東西不要亂放。
討論區中Orbital大大曾經把他做了起來,於是就發了信跟他要電路圖跟零件表。收到以下的圖: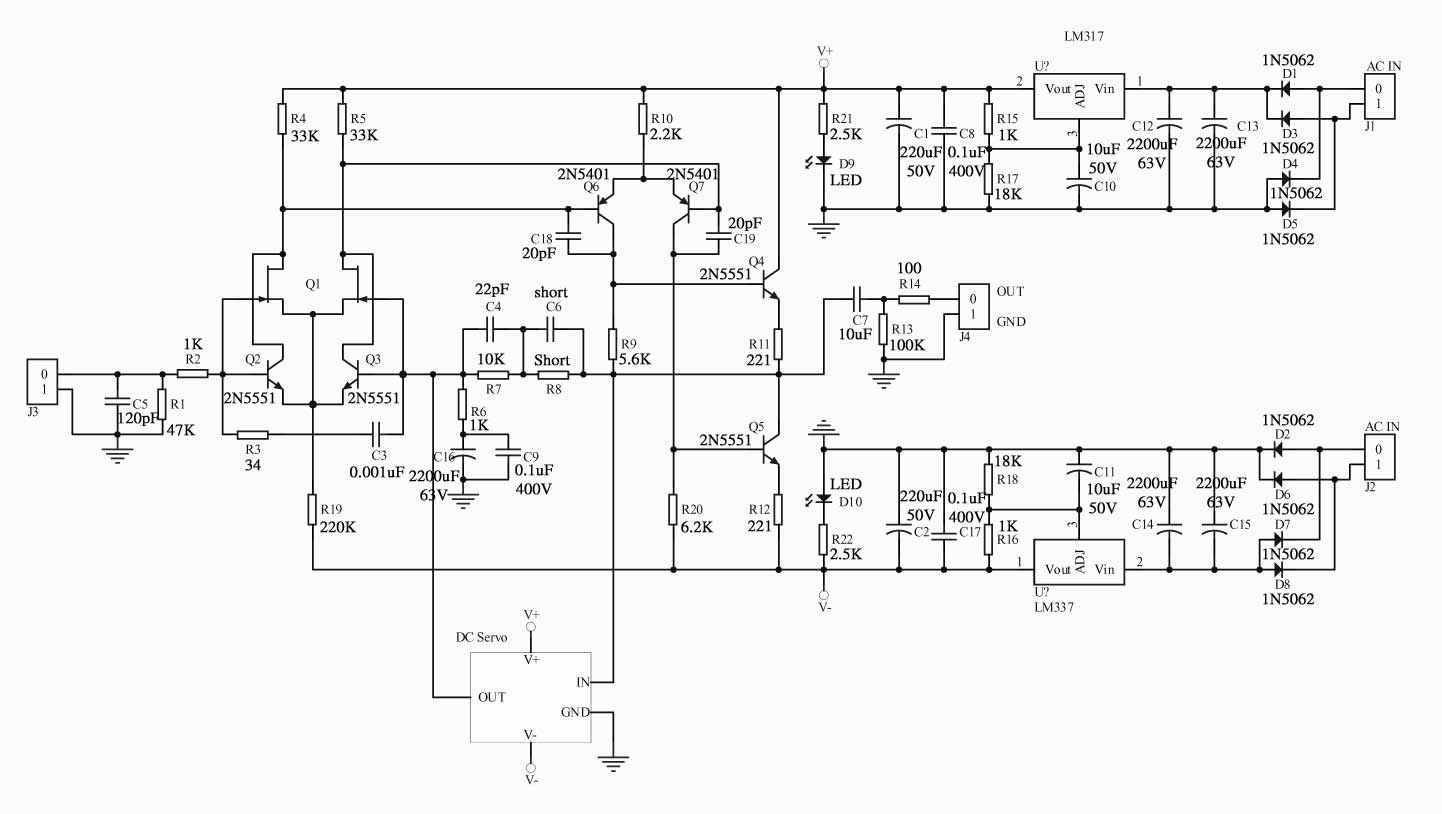
什麼?Q1空接?這時我才恍然大悟,原來DZ在規劃的時候,已經將M.Leach的兩種電路變化(FET,BJT)都lay在板子裡了,真是細心!
趁著晚上的空檔,整理零件,決定做LS844版本的RIAA唱頭放大。我整理的電路圖如下: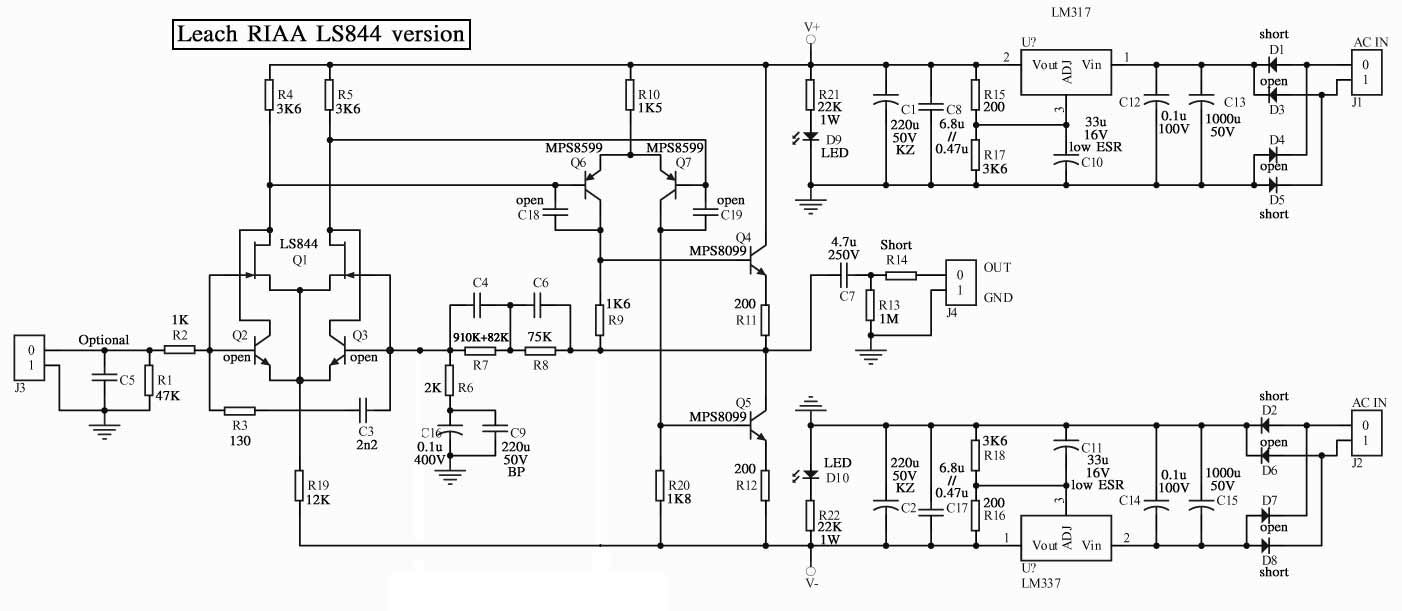
2N5457 的Idss跟Vp,與LS844的相當接近,難怪可以直接代用。當然您也可以找到2N5457來自己配對。MPS8599構成電流鏡,配對為佳,最好還可 以黏在一起達到熱平衡。MPS8099也配一下對好了。我沒加DC-servo,因為手上沒這塊板子,也覺得暫時按照原來的電路裝設就好。
正面
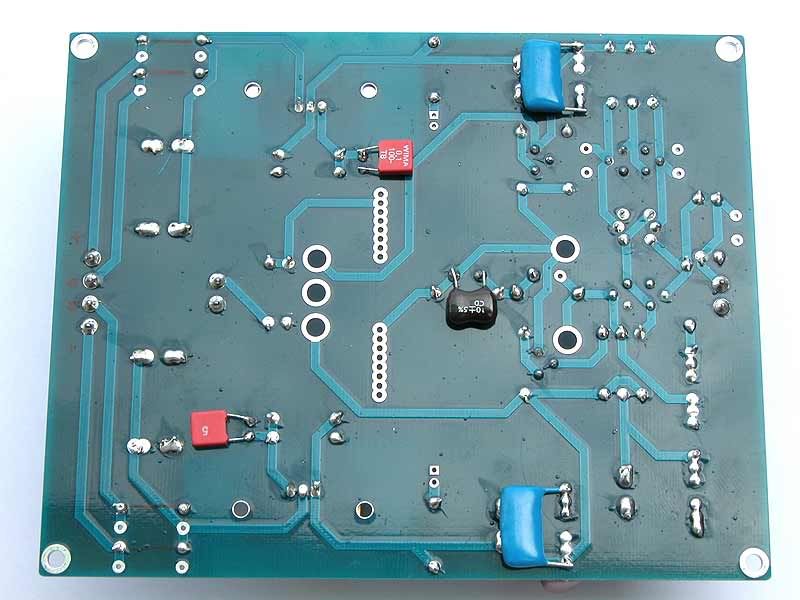
背面
LS844做差動輸入,旁邊的MPS8599是電流鏡,用熱縮套包起來做熱平衡
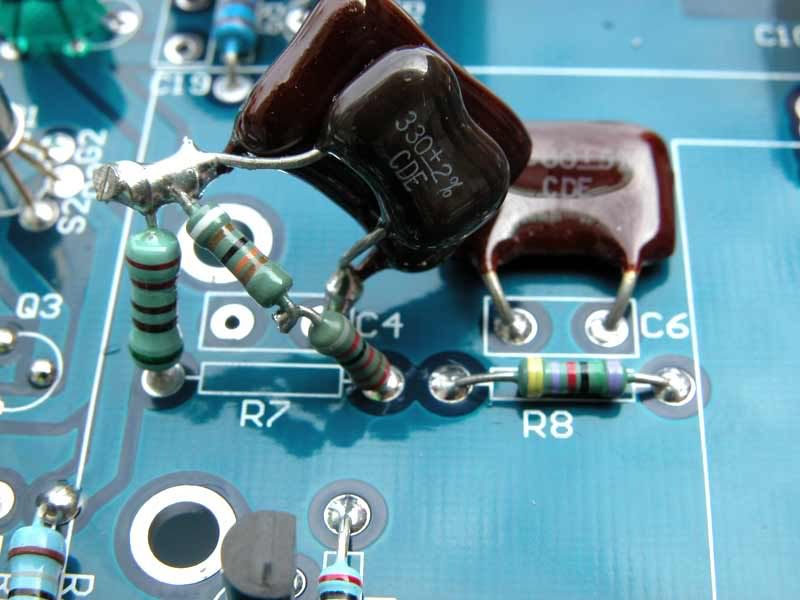
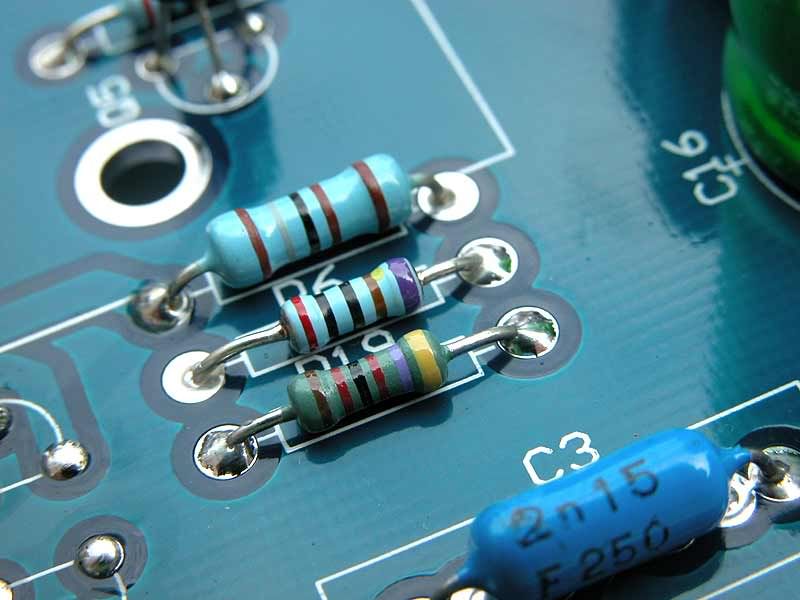
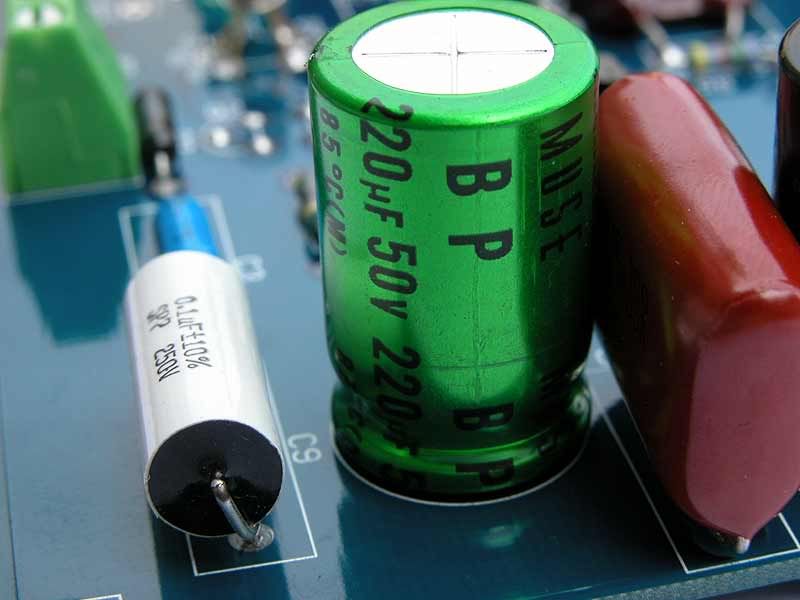
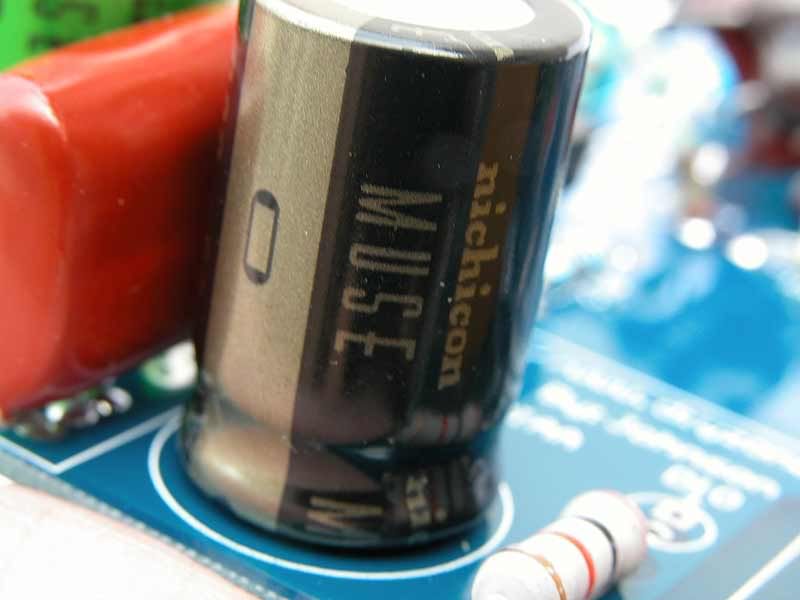
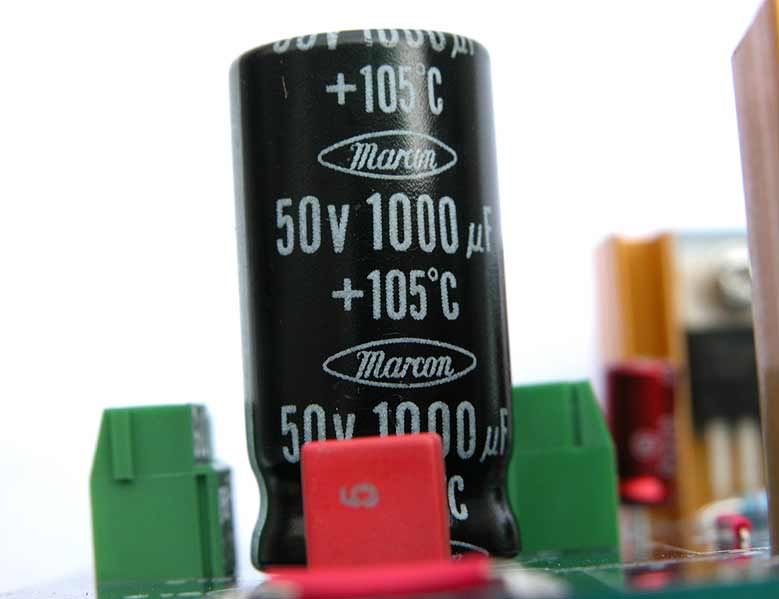
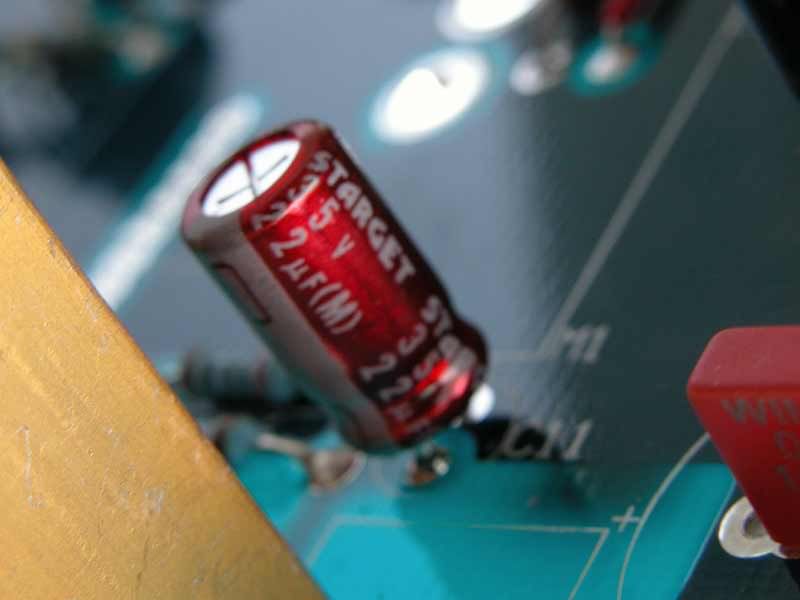
其 他的零件再度是雜牌軍,能從零件箱裡翻出來的庫存,就把他給用上去吧。所以電阻用了Philips 0.1%,Philips 0.6W,Draloric SMA0207,Holco H4P,電阻小鋪0.5W,交直流0.5%,Dale 0.1%,台製精密電阻......真是亂七八糟。電容也是,MUSE BP + MUSE KZ + Marcon 105℃ + Elna Stargate + UCC SPP + Wima + 不知名金屬膜電容.......
RIAA回授網路,用Philips電阻跟雲母電容
汲極電阻
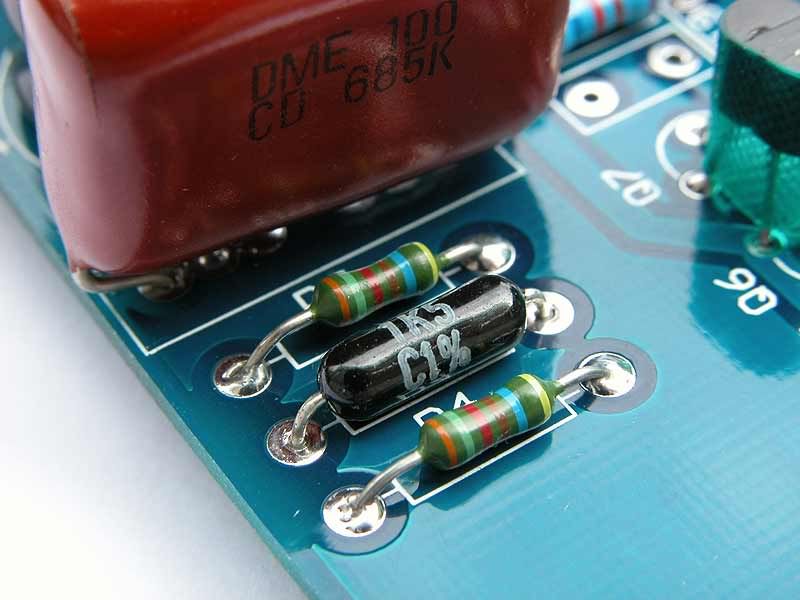
源極電阻跟回授電阻
回授接地電容,用MUSE BP並聯SPP
317/337輸出電容,Nichicon KZ並聯6.8u跟0.47u
電源輸入電容,marcon 1000u並聯wima 0.1u
電壓供應是+/-24V,用LM317/337可以輕鬆搞定。
LM317/337分壓電阻用的C,Elna Stargate
輸出電容我還沒有裝,想量量看有沒有直流輸出之後再決定。整流子的部份,我用跳線,是想把交流的電壓分開裝箱,或至少遠離主電路。
就先這樣吧,沒有箱子真煩人。也快沒空了.....
沒有留言:
張貼留言